[navigation]
TL;DR:
- Banuba Video Editor SDK is a ready-made module for creating and modifying short videos;
- Integrating it takes under 1 hour;
- Follow the installation guide on our website or our a video guide below for best experience.
Video guide
If you prefer to follow a video guide rather than a written one, we've got you covered.
Video editor SDK in a nutshell
Banuba AI VE SDK is a premade module that can be quickly integrated into an app and provide a host of video editing capabilities. These include both the core ones (e.g. recording and trimming) and advanced features like augmented reality effects, voice modification, and picture-in-picture mode. Compared to an average java video editing library, AI VE SDK is more complex but also more powerful. It is not the only product of its kind but it is one of the best.
Its main use cases are:
- Short video apps. If you want to dethrone TikTok, you need to go to market ASAP and deliver a comparably enjoyable user experience. A solid SDK can give you both.
- Social media. The short video format is extremely popular now, with most social networks Instagram, Facebook, and others working to attract users with it. With AI Video Editing API and SDK you can get this functionality in a couple of days. See the example of Chingari for this use case.
- Mobile clipmaking. The SDK is compatible with native Android and iOS (Java/Kotlin video editors and Swift video editors) as well cross-platform frameworks like Flutter and React Native.
- eCommerce. Video editing functionality can be built into eCommerce apps to help promote products and support customers. This is quickly becoming the new norm.
- eLearning. A Kotlin video editor can be an invaluable part of an authoring tool. It allows quickly making and launching educational videos optimized for all screen sizes.
- Travel apps. Sharing videos from one’s journeys is an attractive proposition for users.
- Communication apps. Sending well-edited video messages with impressive effects is a good way to improve user experience in messengers and video calling applications.
The main benefits of using the AI Video Editor SDK lie in shortening the time-to-market. Developing the entire feature set from the ground up can take several months at least, while module integration can be done in a couple of days. However, it also makes video editing more accessible, encourages content creation, increases session time, and attracts new users.
If you want, you can try it for two weeks at no charge.

Kotlin video editor: Features
Let’s go over the most important functionalities step-by-step.
Recording
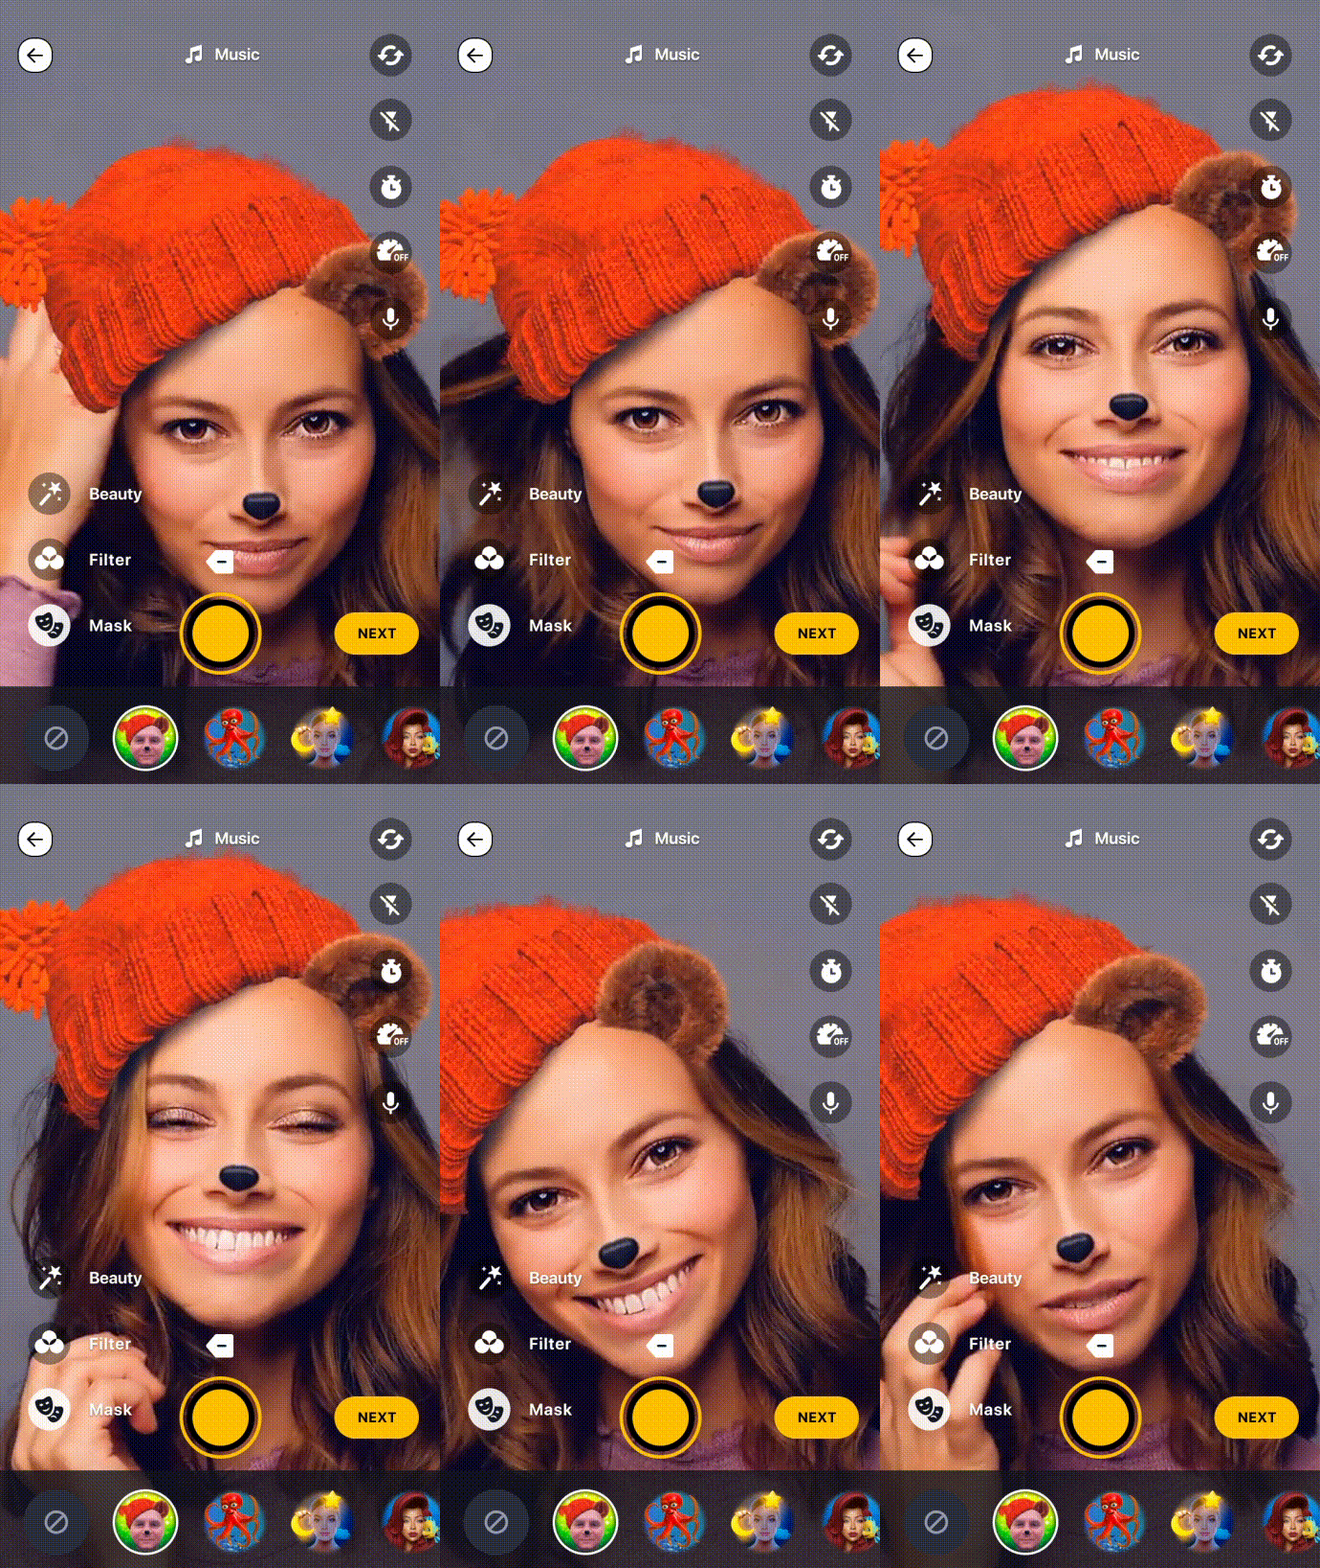
The video capture screen is intuitive and straightforward. It allows users to record clips and modify them on the go.

Besides its main purpose, it also has a hands-free mode, recording speed alteration, zoom, flashlight, timer, and microphone mute.
Video editing
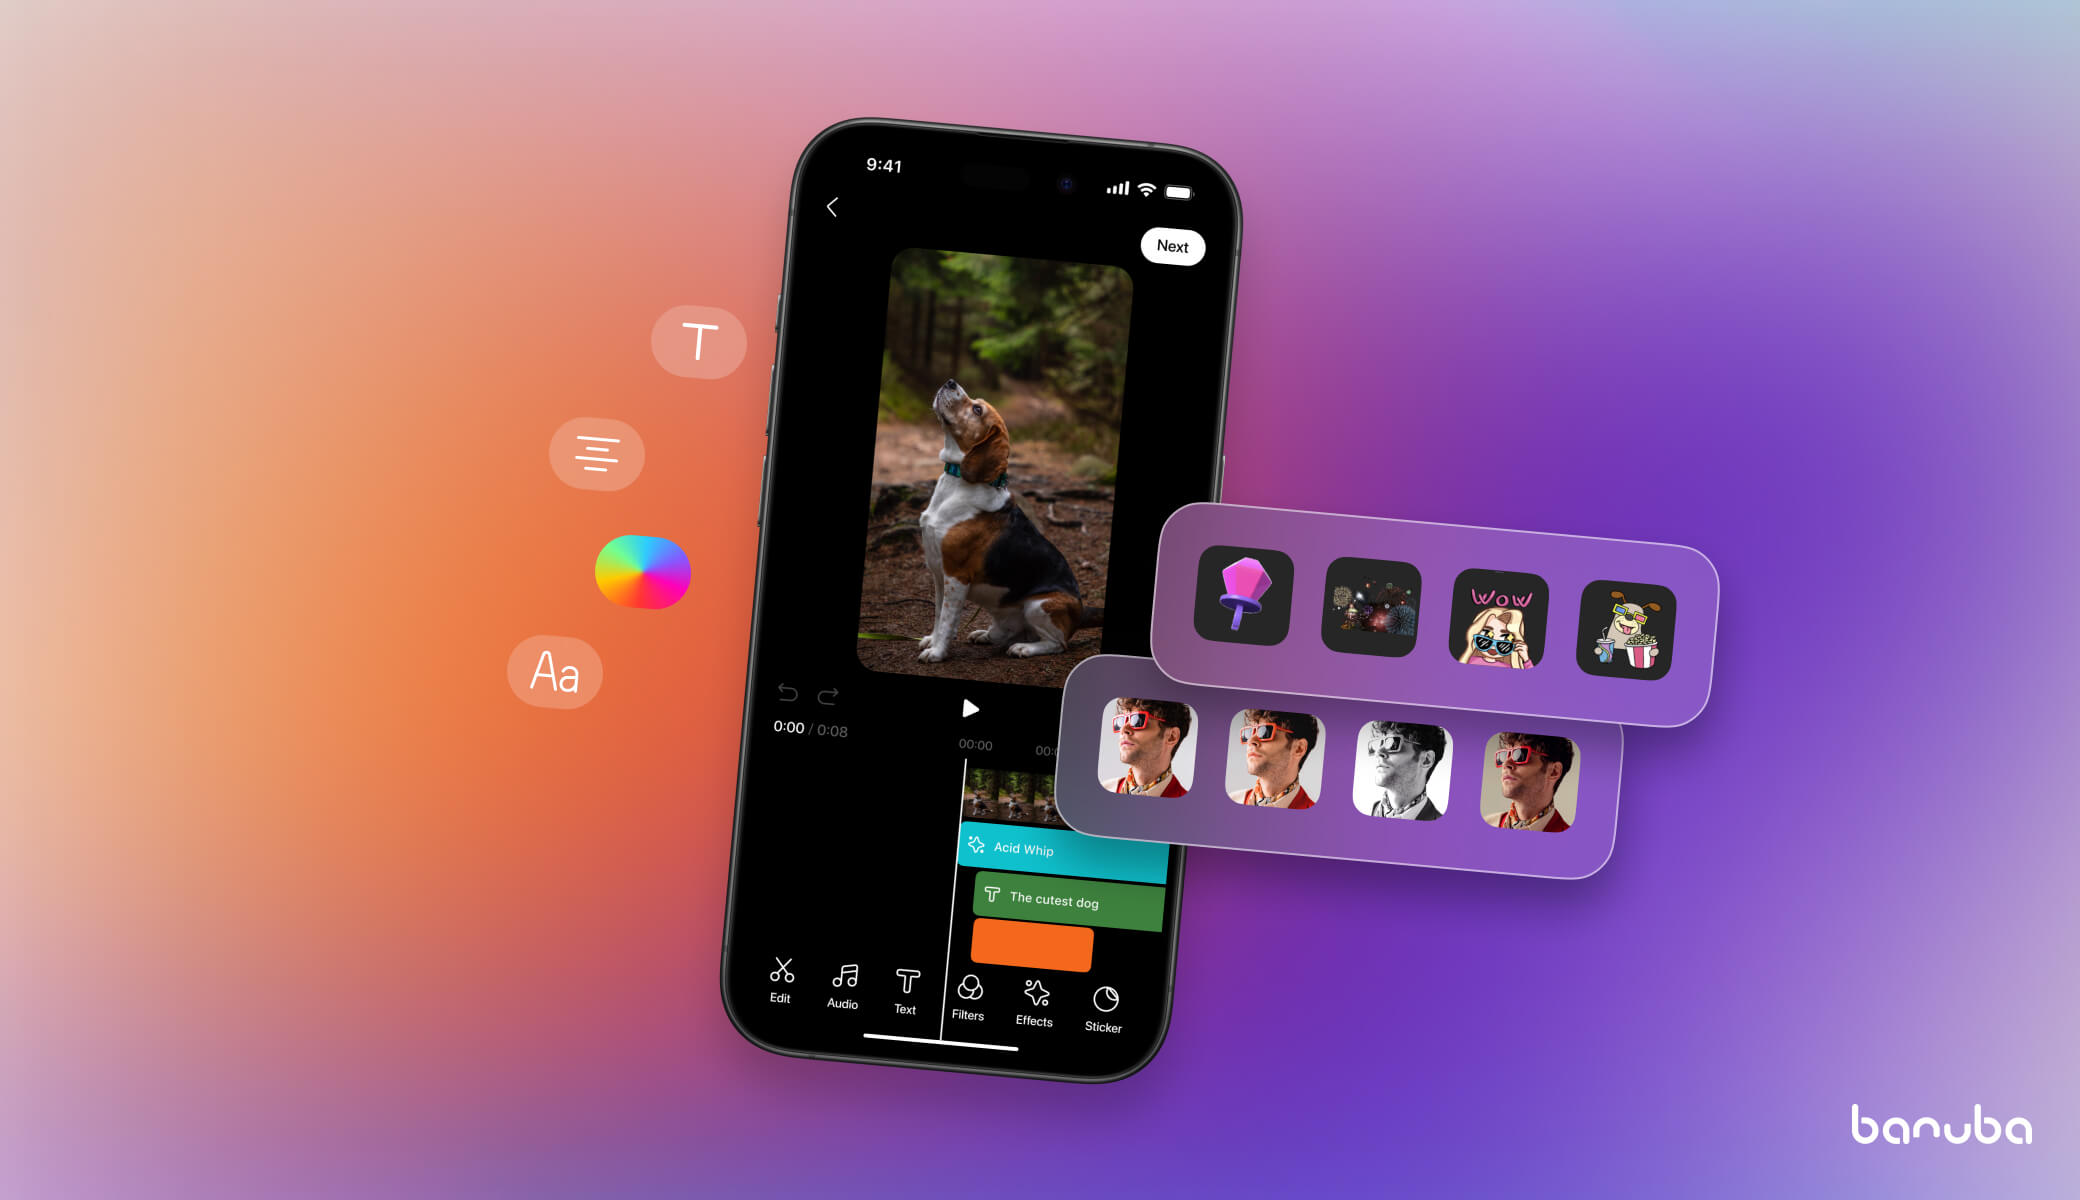
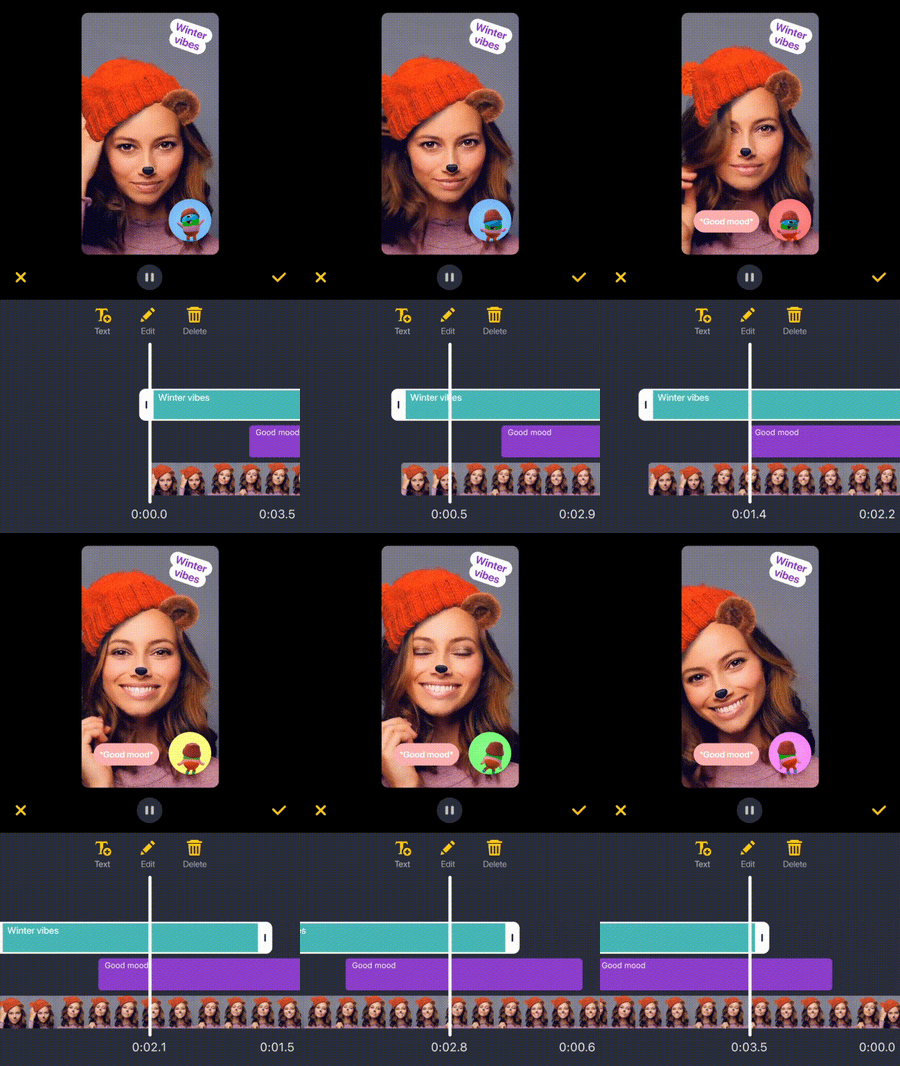
For a Kotlin video editor, this is probably the most important screen. Here the users can apply additional effects (e.g. AR masks, text and GIF overlays, voice modifications), save the project as a draft, etc.

Once a clip is uploaded, the SDK will show a timeline to make applying the features easily understandable. There are also options to export the video and add a watermark to it.
The basic license includes several default effects. However, additional ones can be purchased if you need them.
Audio editing
Here the users can change the soundtracks to their clips and modify them. They can also record their own voice or add a track from Mubert - a music service the SDK is integrated with.

This module is optional. If your vision doesn’t include users editing audio, you can skip it to decrease the app size.
Augmented reality
Most of the AR features in this Kotlin video editor deal with face tracking. This includes applying TikTok-like face masks, background replacement, face morphing, triggers, etc.

To decrease the app size, effects can be stored in the AR cloud and downloaded by the users on-demand. A single mask could take 2-3 MBs of space, and if you want a large enough selection, it could lead to bloat. AR cloud solves this problem.
Note that the augmented reality features are optional for the SDK. As of version 1.19, some effects (e.g. LUTs) are available by default.

Integrating a Kotlin video editor
Before the actual integration can begin, review the requirements. As mentioned before, the SDK can serve as Java video editor but is also compatible with with cross-platform frameworks, so the requirements will be the same across the board.
This is what you need to run the AI Video Editor SDK:
- Kotlin 1.8+ or Java 17
- Android OS 6.0 or higher with Camera 2 API
- OpenGL ES 3.0 (3.1 for Neural networks on GPU)
- ✅ arm64-v8a , ✅ armv7, ❗ x86-64 limited support, ❌ x86 - no support
Step 1. Request the trial token
Fill in the form below to receive an archive with the SDK and a unique trial token. You will be able to test all the features for 14 days with no strings attached (no credit card required either).

Step 2. Integration
Follow the latest guide on our website to quickly integrate the SDK.
Optional steps
The necessary steps are described above. However, you can change and tweak other parameters, should you need it:
Conclusion
Integrating a Kotlin video editor in your app is a good way to decrease the time-to-market and encourage the creation of user-generated content. With this guide, you will be able to do so with no problem. Go ahead and take the first step - contact us and request the token to start your free trial.

